This West Bend Bread Maker Manual breaks everything into 5 simple steps, making bread baking easy for beginners at home.
Ingredients & Tools Table
| Item | Purpose |
|---|---|
| Bread ingredients | To make fresh bread at home |
| Measuring cups | For correct amounts |
| Measuring spoons | For small ingredients |
| Water or milk | Liquid for dough |
| West Bend bread maker | Baking the bread |
| Instruction manual | For safe use |

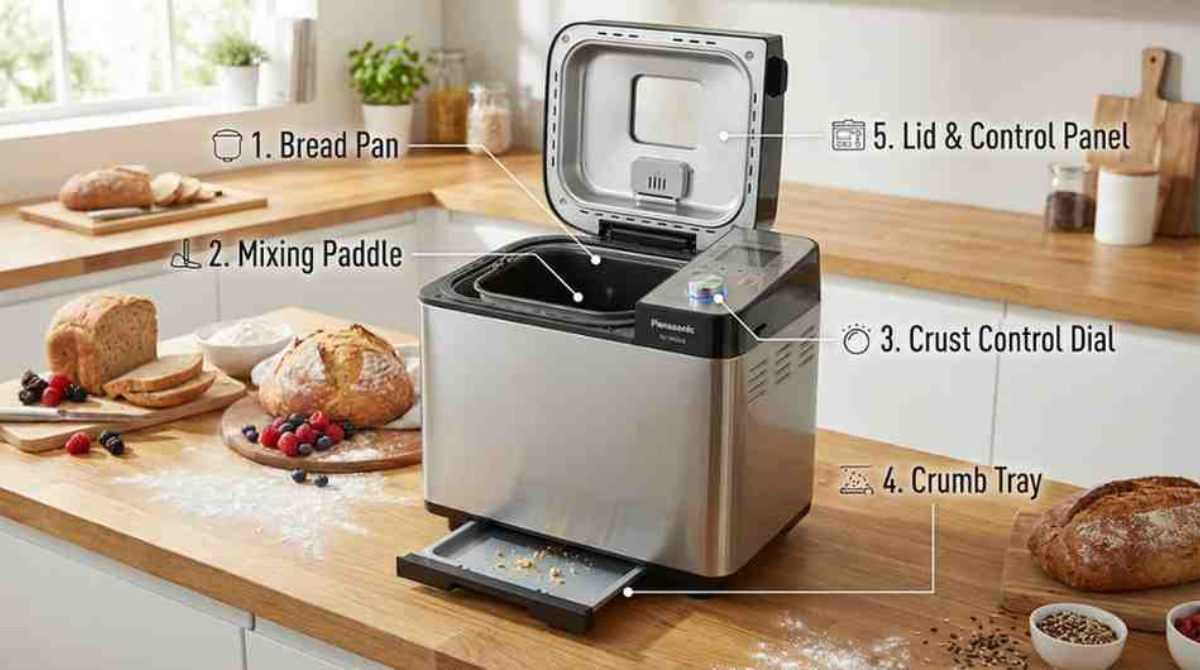
Step 1: Set Up the Bread Maker
First, place your bread maker on a flat and safe surface. Make sure it is clean and dry. Plug it into a power outlet. Open the lid and place the bread pan inside the machine correctly. This is the first rule in the West Bend Bread Maker Manual because a good setup helps the machine work well.
Main Tip: Always read safety notes before starting.
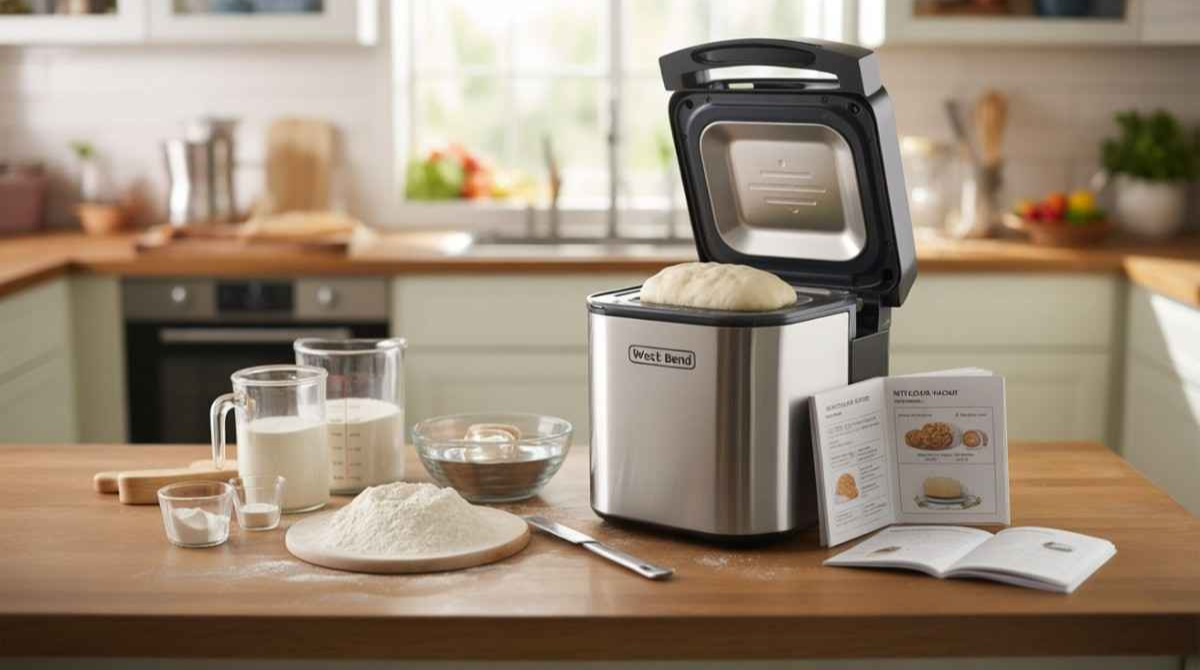
Step 2: Add Ingredients the Right Way
Now add your ingredients to the bread pan. Always add liquid first, then dry ingredients, and yeast last. This order is very important. The West Bend Bread Maker Manual says the correct order helps the bread rise well and taste better.
Tip: This step makes baking stress-free and easy.
Step 3: Choose the Correct Setting
Close the lid and select the right bread setting. Choose white bread, whole wheat, or quick bread. Also select crust color like light or dark. According to the West Bend Bread Maker Manual, choosing the right setting gives you perfect results every time.
Step 4: Start the Machine and Wait
Press the start button. The machine will mix, knead, rise, and bake the bread. Do not open the lid while it is working. The West Bend Bread Maker Manual explains that opening the lid can make bread fall flat.
Important Word: Be patient while baking.
Step 5: Remove and Cool the Bread
When baking is done, the machine will beep. Use oven mitts to remove the bread pan. Take the bread out and place it on a cooling rack. Let it cool before slicing. This final step in the West Bend Bread Maker Manual keeps your bread soft and fresh.
Common Mistakes to Avoid (West Bend Bread Maker Manual)
| Common Mistake | Why It’s a Problem | How to Avoid It |
|---|---|---|
| Adding ingredients in the wrong order | Bread may not rise well | Always add liquid first, dry items next, yeast last |
| Using old or expired yeast | Bread becomes hard or flat | Use fresh, active yeast only |
| Wrong ingredient measurements | Taste and texture get spoiled | Measure carefully with proper cups and spoons |
| Opening the lid while baking | Bread can sink in the middle | Keep the lid closed during baking |
| Choosing the wrong program | Bread may undercook or burn | Select the correct bread setting |
| Not cleaning the bread pan | Old residue affects flavor | Clean the pan after every use |
| Using very hot water | Yeast can die | Use lukewarm water only |
| Removing bread too late | Bread gets soggy | Remove bread soon after baking ends |

Helpful Tips for Best Results
- Always measure ingredients correctly
- Use fresh yeast for better rise
- Clean the bread pan after use
- Store bread in a dry place
These tips are also shared in the West Bend Bread Maker Manual to help beginners succeed.
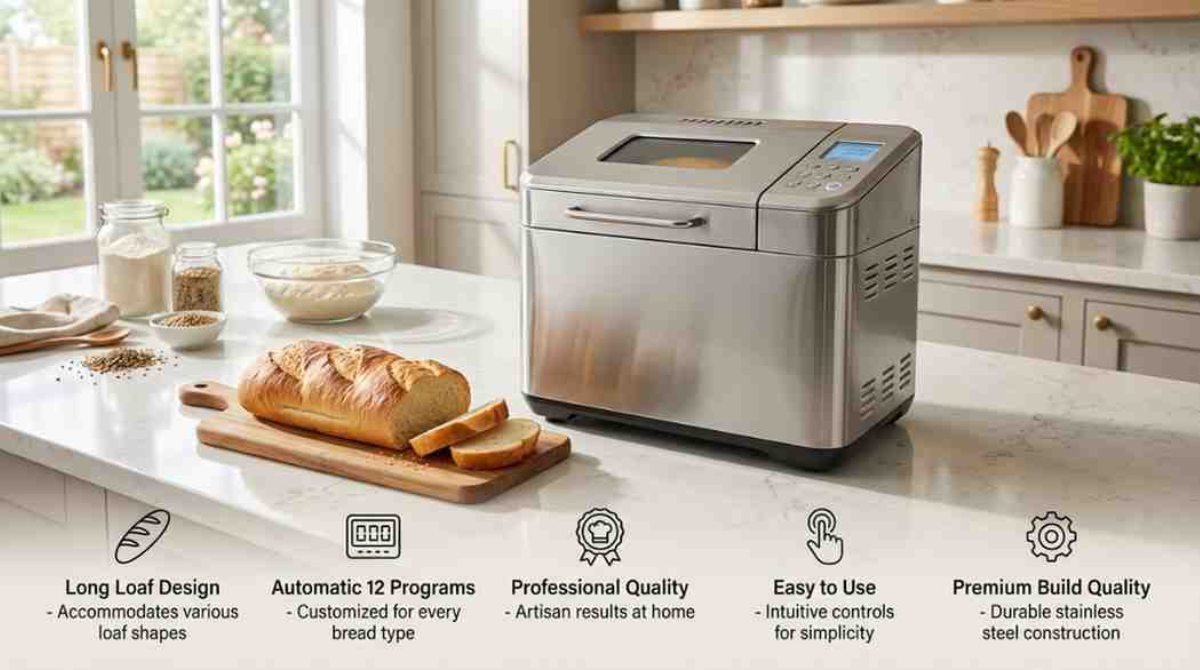
Why This Manual Is Helpful
This guide is made for beginners, home bakers, and busy families. The West Bend Bread Maker Manual uses clear words, short steps, and easy tips. It saves time and helps you enjoy homemade bread without stress.
FAQs
1. Is the West Bend bread maker easy to use?
Yes, it is very easy. Just follow the West Bend Bread Maker Manual step by step.
2. Can beginners use this bread maker?
Yes, beginners can use it easily because the instructions are simple and clear.
3. What ingredients should I add first?
Always add liquids first, then dry ingredients, and yeast last.
4. Why should I not open the lid while baking?
Opening the lid can stop the bread from rising properly and affect results.