Make soft and tasty bread maker banana nut bread recipe in 5 steps with ripe bananas, nuts, and simple ingredients for a perfect loaf every time.
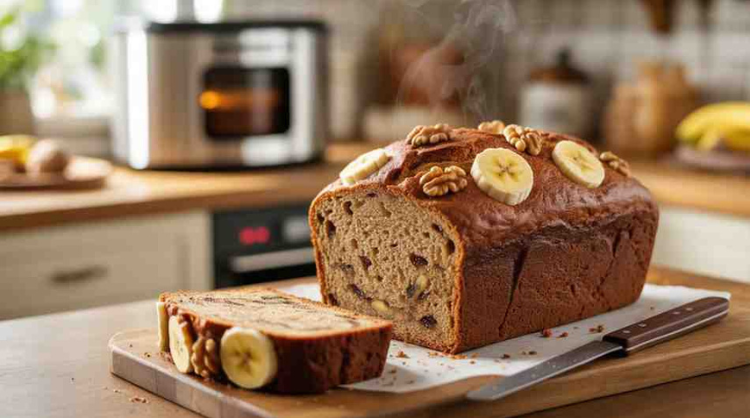
Bread Maker Banana Nut Bread Recipe in 5 Steps
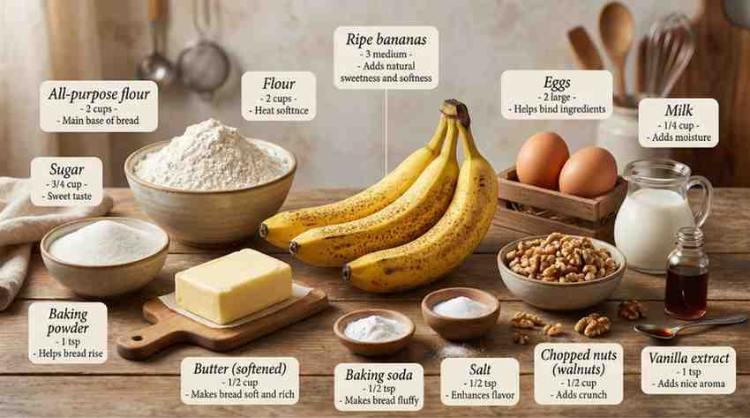
| Ingredient | Quantity | Purpose |
|---|---|---|
| Ripe bananas | 3 medium | Adds natural sweetness and softness |
| All-purpose flour | 2 cups | Main base of bread |
| Sugar | 3/4 cup | Sweet taste |
| Butter (softened) | 1/2 cup | Makes bread soft and rich |
| Eggs | 2 large | Helps bind ingredients |
| Milk | 1/4 cup | Adds moisture |
| Baking powder | 1 tsp | Helps bread rise |
| Baking soda | 1/2 tsp | Makes bread fluffy |
| Salt | 1/2 tsp | Enhances flavor |
| Chopped nuts (walnuts) | 1/2 cup | Adds crunch |
| Vanilla extract | 1 tsp | Adds nice aroma |
Step by Step Method
Follow these simple steps to make perfect banana nut bread.
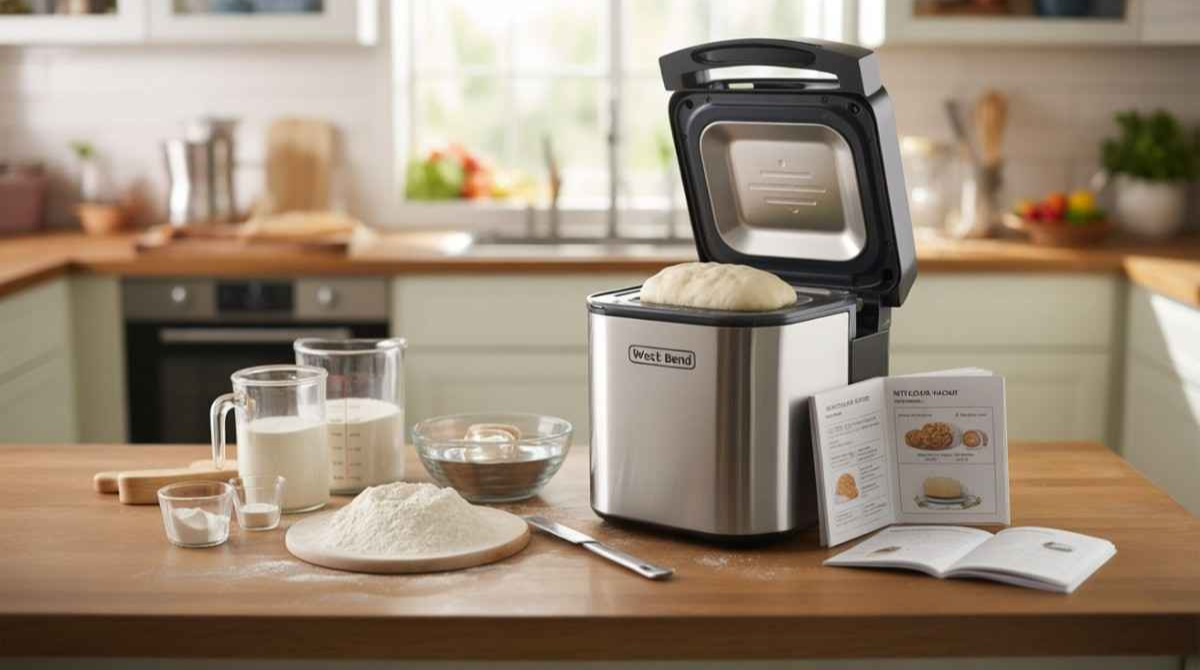
Step 1: Prepare Ingredients
First, gather all your ingredients from the table above.
- Peel the bananas
- Mash them well using a fork
- Make sure there are no big lumps
Tip: The riper the bananas, the sweeter your bread will be.
Step 2: Add Wet Ingredients
Put the following into your bread maker pan:
- Mashed bananas
- Eggs
- Milk
- Butter
- Vanilla extract
Mixing wet ingredients first helps make the bread smooth.
Step 3: Add Dry Ingredients
Now add:
- Flour
- Sugar
- Baking powder
- Baking soda
- Salt
Make sure to add them evenly on top.
Do not mix too much. The bread maker will do it for you.
Step 4: Add Nuts
Add chopped walnuts on top.
You can also use:
This adds a crunchy texture and makes the bread more tasty.
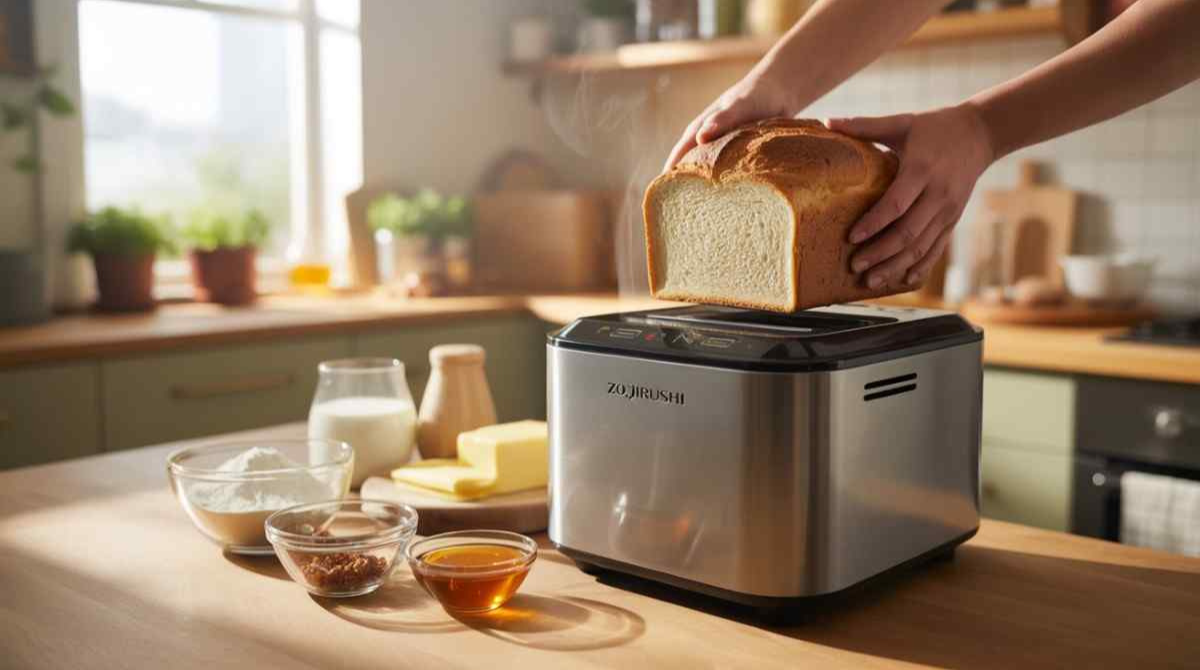
Step 5: Start Bread Maker
- Select Quick Bread or Cake Mode
- Choose medium crust
- Press start
Wait for the bread maker to finish.
Soon your kitchen will smell warm and delicious.
Baking Time Table
| Mode | Time |
|---|---|
| Quick Bread | 1 hour 30 minutes |
| Cake Mode | 1 hour 40 minutes |
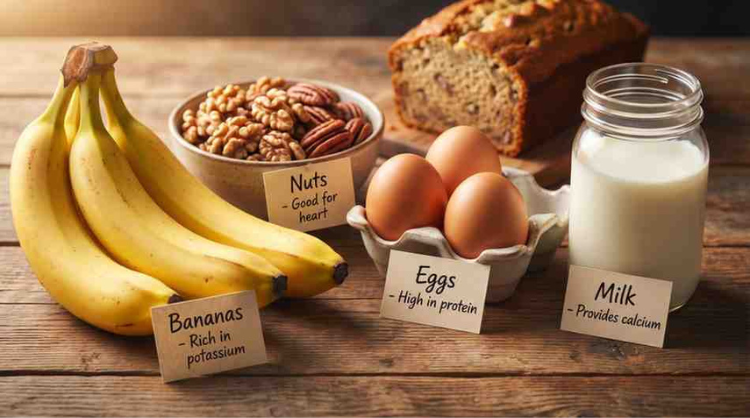
Health Benefits of Banana Nut Bread
| Ingredient | Benefit |
|---|---|
| Bananas | Rich in potassium |
| Nuts | Good for heart |
| Eggs | High in protein |
| Milk | Provides calcium |
This makes your bread not just tasty but also healthy.
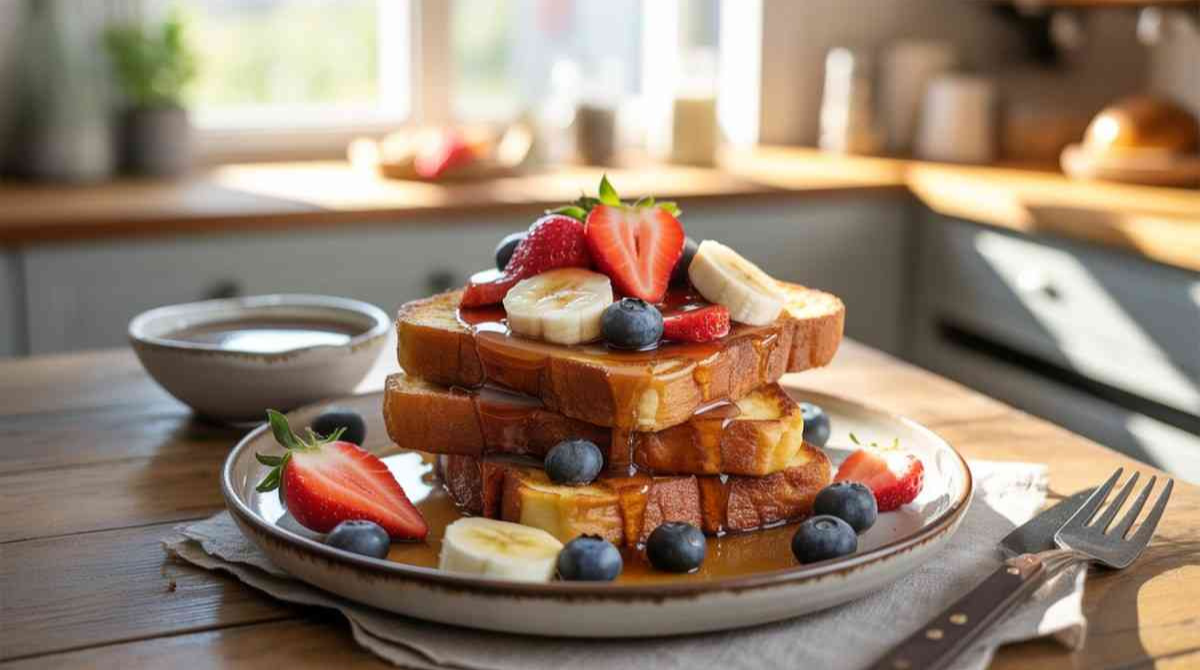
Cooling and Serving
After baking:
- Remove bread carefully
- Let it cool for 10–15 minutes
- Slice with a knife
Serve warm for best taste.
Tips for Best Results
Here are some important tips:
- Use ripe bananas for better flavor
- Do not over mix ingredients
- Always measure correctly
- Use fresh baking powder and soda
Storage Tips
- Keep bread in an airtight box
- Store at room temperature for 2 days
- Refrigerate for longer use
- Freeze slices for up to 1 month
Variations You Can Try
You can make this recipe more fun:
- Add chocolate chips
- Add cinnamon for spice
- Use honey instead of sugar
- Try gluten-free flour
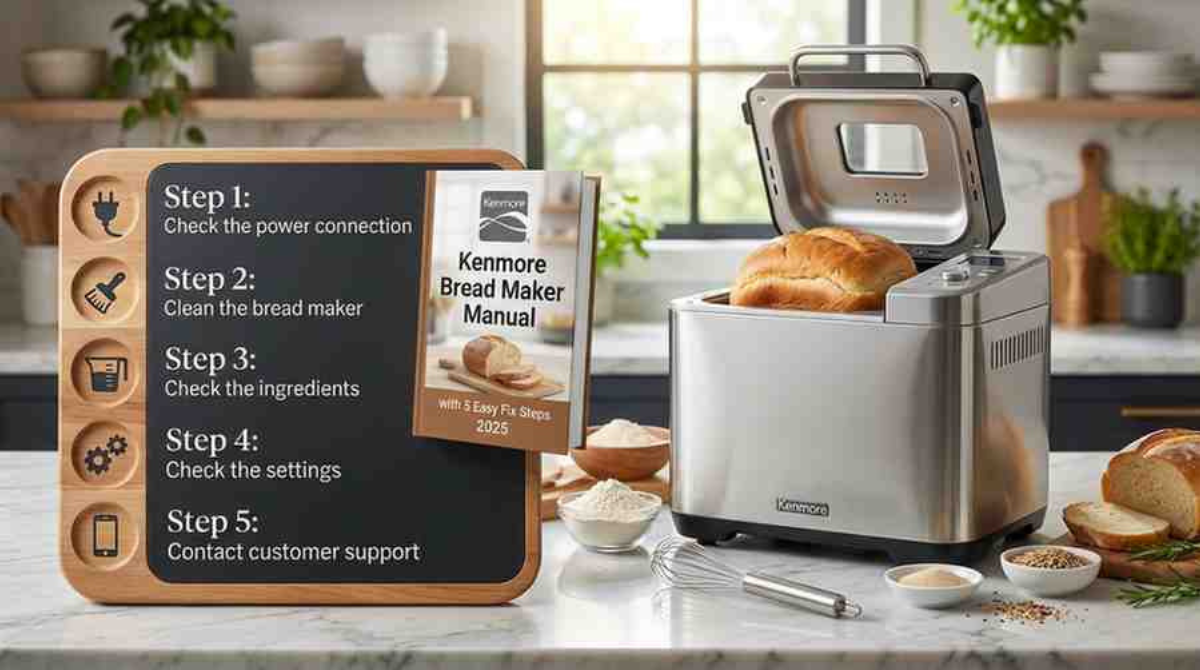
Why Use a Bread Maker?
Using a bread machine is:
- Easy and automatic
- Saves time
- Perfect for beginners
- Gives consistent results
This makes homemade baking stress-free.
Why This Recipe is Amazing
This recipe is:
- Easy
- Quick
- Fool proof
- Soft and Moist
- Perfect for Beginners
Conclusion
With just a few ingredients and simple steps, you can enjoy bakery-style bread without any stress.
Try it once, and you will love it every time.
FAQS
1. Can I use frozen bananas?
Yes, thaw them first and then mash well.
2. Which bread maker setting is best?
Use Quick Bread or Cake Mode for best results.
3. Can I skip nuts?
Yes, you can make plain banana bread without nuts.
4. How do I know bread is done?
Insert a toothpick. If it comes out clean, bread is ready.